

This was one of those projects. You know the kind where you think you'll accomplish it with items from the dollar store and some Yankee ingenuity. The next thing you know you've spent $50 on miscellaneous supplies and it doesn't quite look the way it did in your head. Yup, one of those.
I spotted this gorgeous advent calendar when Pottery Barn released their 2015 holiday items:

Pottery Barn has released similar items in previous years, but this one is just yummy, and totally goes with the "rustic glam" thing I have been trying to make happen around here our last few Christmases. Unfortunately the price is not so yummy, as the real deal comes in at close to $160, which is close to topping my budget for all holiday crafts, decor, wrap, and baking.
As soon as I spotted this beauty I thought "I could make that," but I decided to first take a spin around Pinterest and see if someone else had done a calendar that might be easier, or less expensive than this version. There are many beautiful options on Pinterest.
This version from Camille Styles is dreamy:
Who knew you could make a beautiful advent calendar with toilet rolls?

This advent tags version from Jones Design Company makes me swoon:

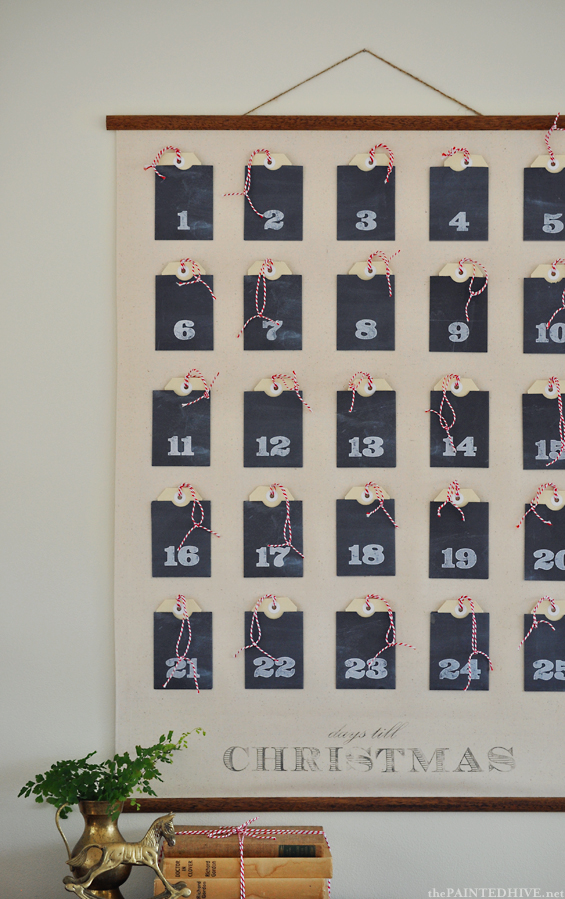
And this version using a drop cloth and chalkboard pockets by The Painted Hive is also tempting:
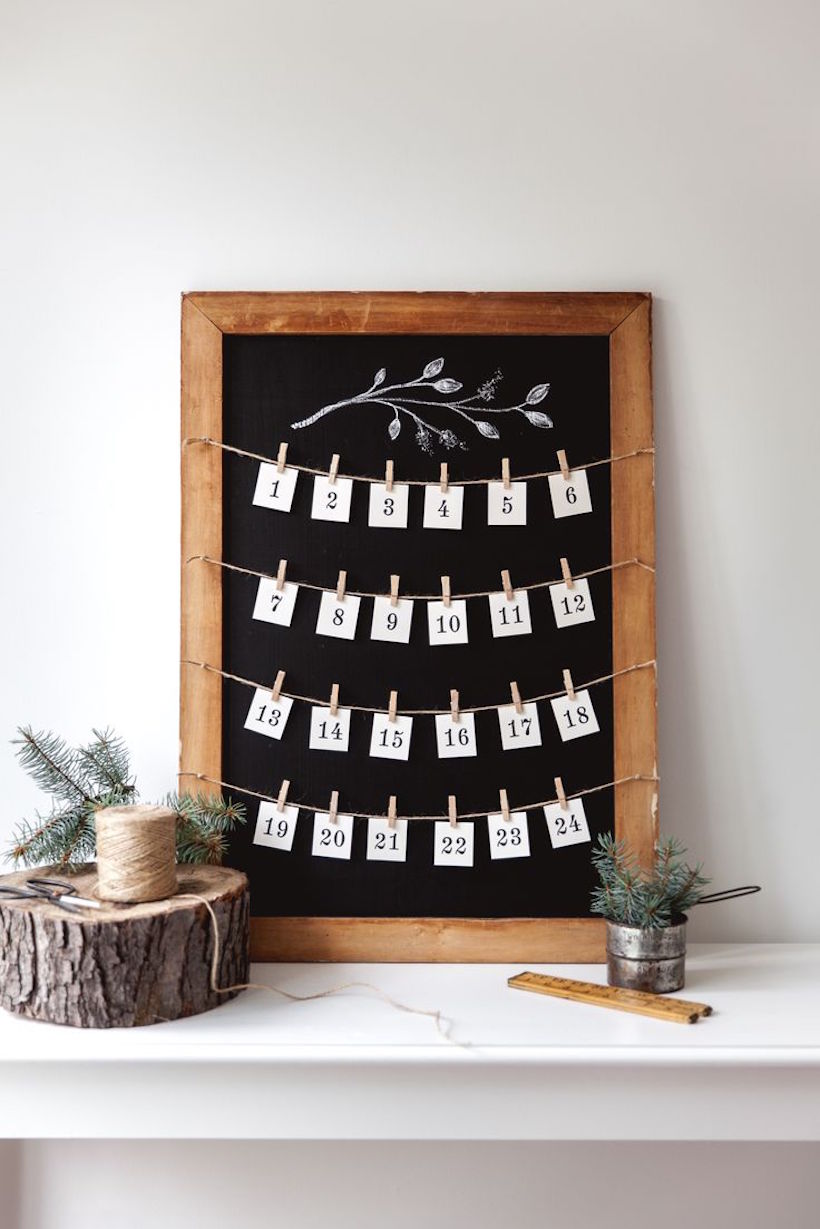
A few years ago I jumped on the bandwagon of muffin tin calendars with a number of other bloggers and whipped up this one using my Cricut to cut out the numbers:

I tired of that version after a few years, and we are definitely ready for something new. Several Pinterest contributor pages share versions of mini-pail calendars made quite frugally using pails from the Dollar Tree's wedding section. Unfortunately our local store is not carrying these at this time of year, and while they are available here the necessary quantity for ordering in bulk didn't make sense. I also was unsure of the size. I ended up ordering these copper pails from Oriental Trading. While I had to order 3 sets of them the extras can be used later in birthday party favors for my kiddos. To assemble my calendar I started with spray painting the pails with rustoleum's oil-rubbed bronze. I then added gold ovals and white numbers cut with my Cricut die-cut machine. This vinyl came from my stash, but inexpensive craft store stickers would also work well. This first version of numbers turned out too large, so I recut them using another font at a 1" size.

The frame I intended to use ended up being too small, so I scored a great gold frame with a scary print at our local Restore. As a consequence the scrap wood I planned to use no longer worked (I told you it was one of those projects). After two more trips to Lowes for some craft wood and stain and I was set.

As I worked on this project I feared it was looking more like something that belonged in a mini-golf course than something I wanted to display in my home, but I think the end product works.


The pails are attached with hot glue. I'd recommend potentially pulling out your big guns with a stronger adhesive like E-6000 if you attempt this project, as the hot glue's performance isn't wowing me so far. True confession: I still prefer the PB model, but at 30% of the cost my version works for us, and my girls won't mind a bit. True confession #2: yes I know the pails are not 100% straight, but after several attempts at fixing them I'm going with the theory that once it's filled with tiny package goodness it will be much less obvious.
No comments:
Post a Comment